0.  Setup
Pre-requisites
We’ll be using the VM (Virtual Machine) on EC2 for our development.
You have all been set up an account with a VM - the connection details will be sent out to you individually via Zoom. If you haven’t got them or can’t find them, just let us know and we’ll send them again.
There are two options for accessing the VM:
- Using SSH (Secure Shell) command line tool from your favourite terminal emulator, such as Windows Terminal, iTerm2 or GNOME Terminal. If you’re familiar and comfortable in the terminal, we’d recommend this.
- Using the AWS web console. If your corporate firewall prevents SSH connections or you’re not familiar with the command-line environment, you can access the VM straight from your web browser.
Connecting to VM using SSH
First, make sure you’ve got a terminal emulator installed. Some options are:
- macOS - iTerm2
- Windows - Windows Terminal or WSL (Windows Subsystem for Linux) (Windows 10 and up), PuTTY (Windows 8 and below).
- Linux - if you’re using Linux, you’re probably already familiar with your terminal of preference - they all come with one pre-installed anyway, so you can just search for “Terminal” in your apps and it should be there.
For those new to the terminal, SSH is a program that allows you to securely connect to another machine and run commands on that machine - it’s a simple and ubiquitous tool.
You should have been sent the details of the VM created for you for this workshop along with the private key needed to connect to it, alongside your AWS account details. If you don’t have any of this information, please do let us know and we’ll sort it out for you.
To connect to the VM, run:
# Needed for Linux, macOS & WSL, otherwise SSH server will
# reject your private key.
chmod 600 <path to private key file>

ssh -i <path to private key file> ubuntu@<hostname of your VM>
If you’re on Linux, macOS or WSL, to make it easy to connect to the VM you can also optionally add an alias in your SSH config:
echo "Host explain-vm
  User ubuntu
  HostName <hostname of our VM>
  ForwardX11 no
  ForwardAgent yes
  TCPKeepAlive yes
  ServerAliveInterval 120
  PubKeyAuthentication yes
  IdentitiesOnly yes
  IdentityFile <path to private key file>" >> ~/.ssh/config

# Don't need to specify all these details every time now!
ssh explain-vm
If this SSH config doesn’t work or seems too complicated - don’t worry about it, using the full command each time works just fine.
Info
Your VM hostname should look something like ec2-52-56-111-13.eu-west-2.compute.amazonaws.com where 52-56-111-13 will be replaced with the external IP of your particular VM but with hyphens instead of fullstops.
Warning
If you see an error like this:
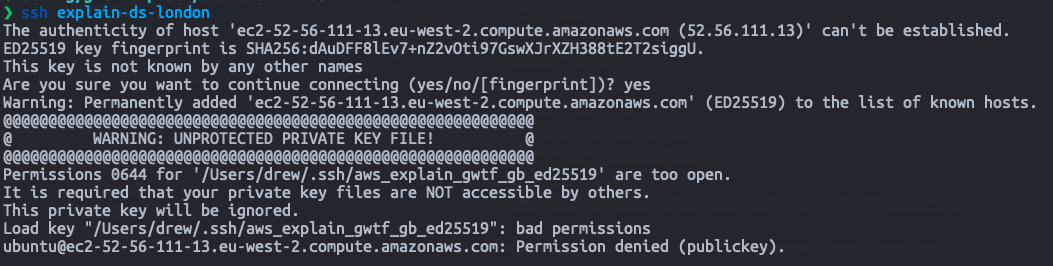
then this means you need to change the permissions on your private key file to 600 (read-only) or 644 (read-write) so that SSH will accept it.
You can do this by running:
chmod 600 <path to private key file>
Connecting to VM using the AWS web console
Firstly, open your web browser of choice and go to https://signin.aws.amazon.com/console.
You should be presented with a login screen like this one:
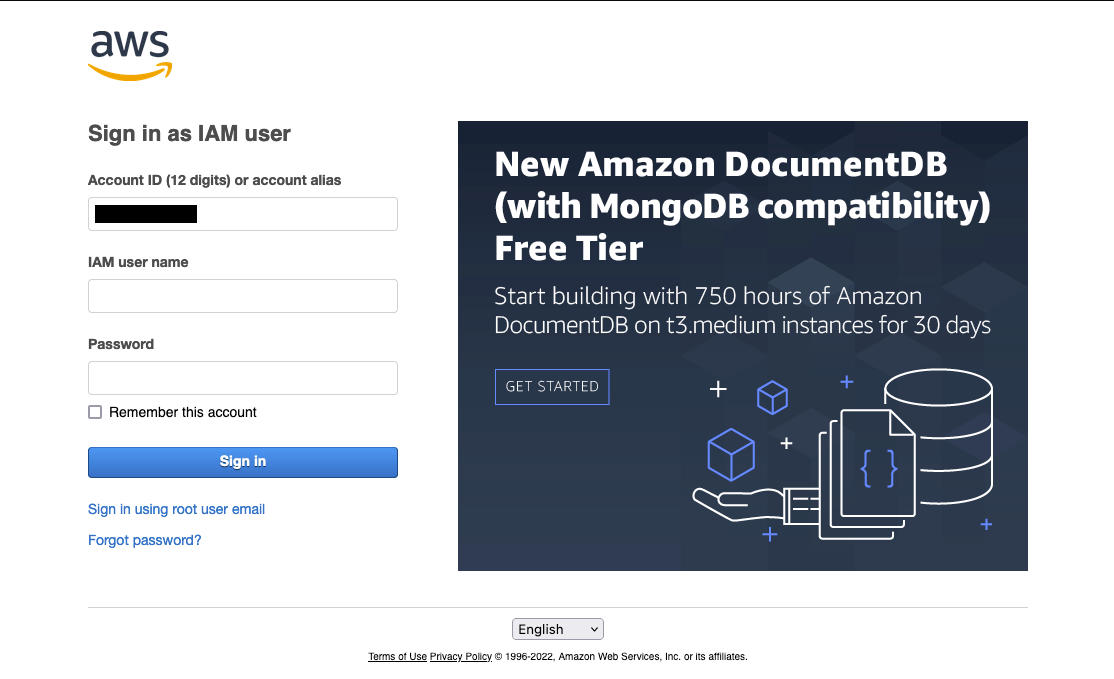
Enter the account ID, username and password we sent you.
You’ll probably have to do one of those annoying captcha things too - if you realise at this point that you’re actually a robot, I’m afraid this is where we part ways.
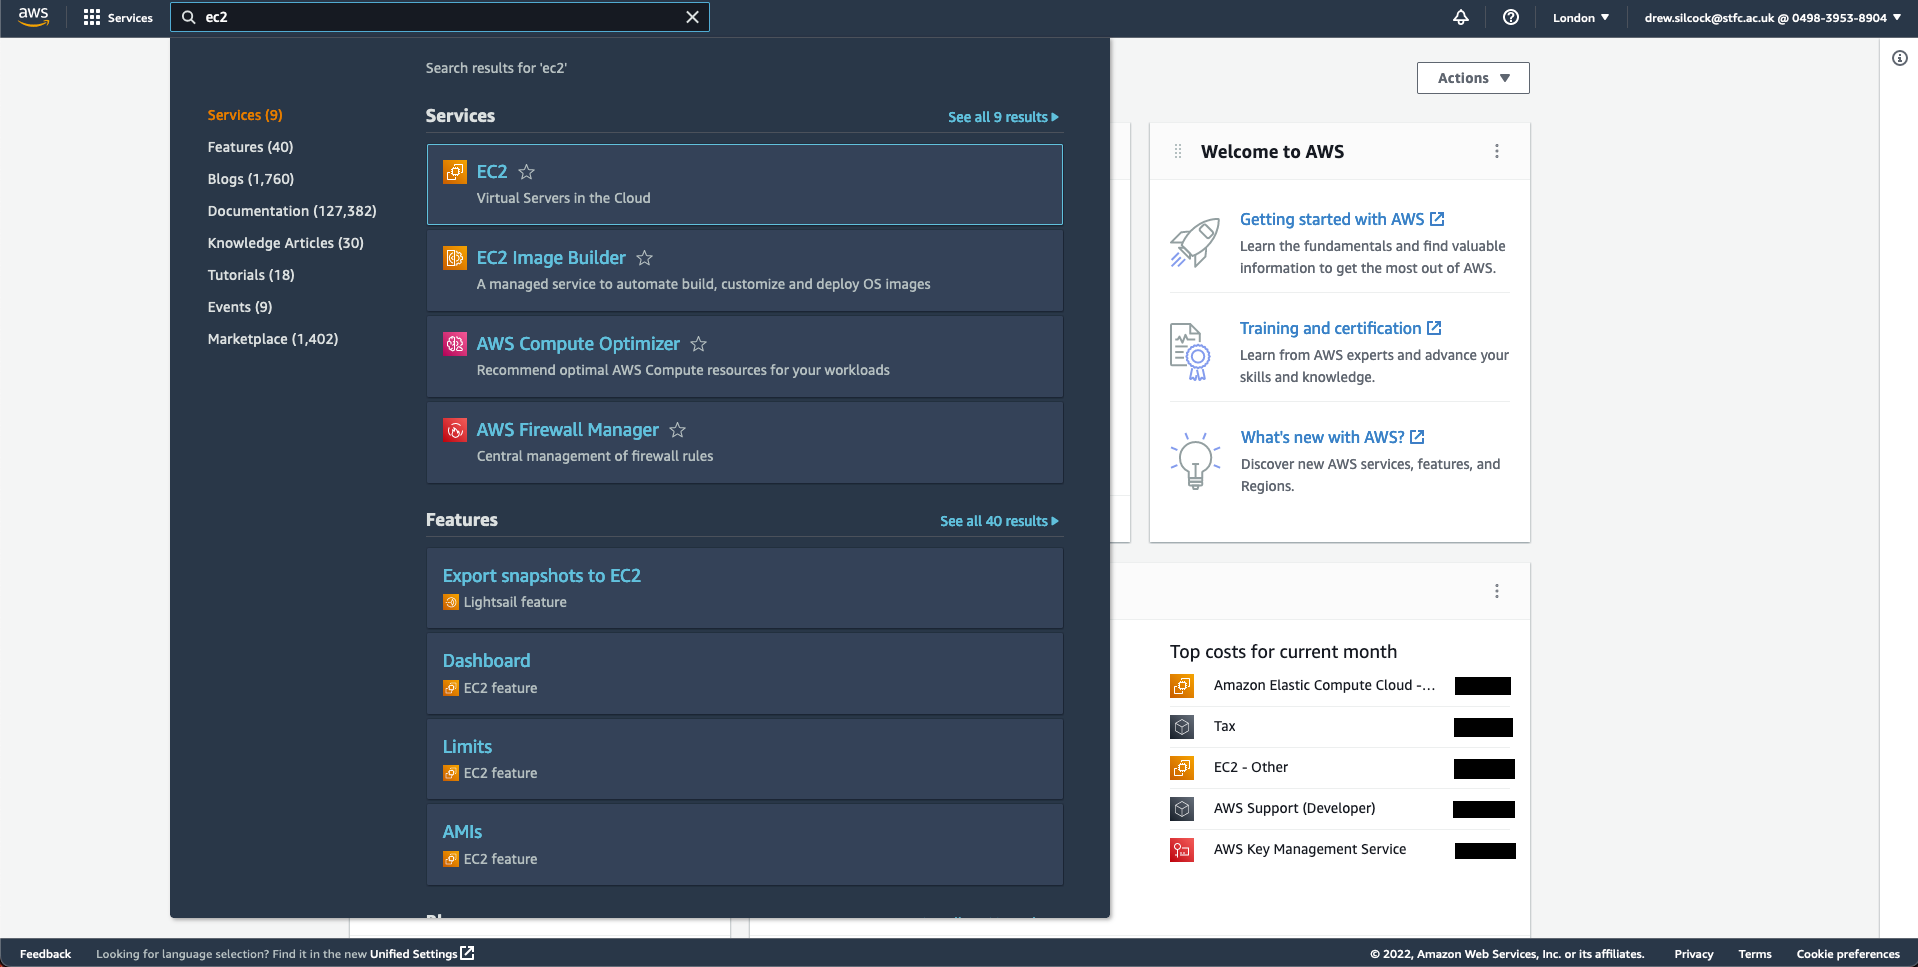
Next you’ll be presented with the AWS console home page - if you’re familiar with AWS, you may already know and love this page. Either way, we can to access our VM in EC2, so click on the search bar at the top of the page and type “EC2”. Click on the “EC2” service as shown below and this’ll take you to the EC2 console.
Once you’re in the EC2 console, you should see something like this:
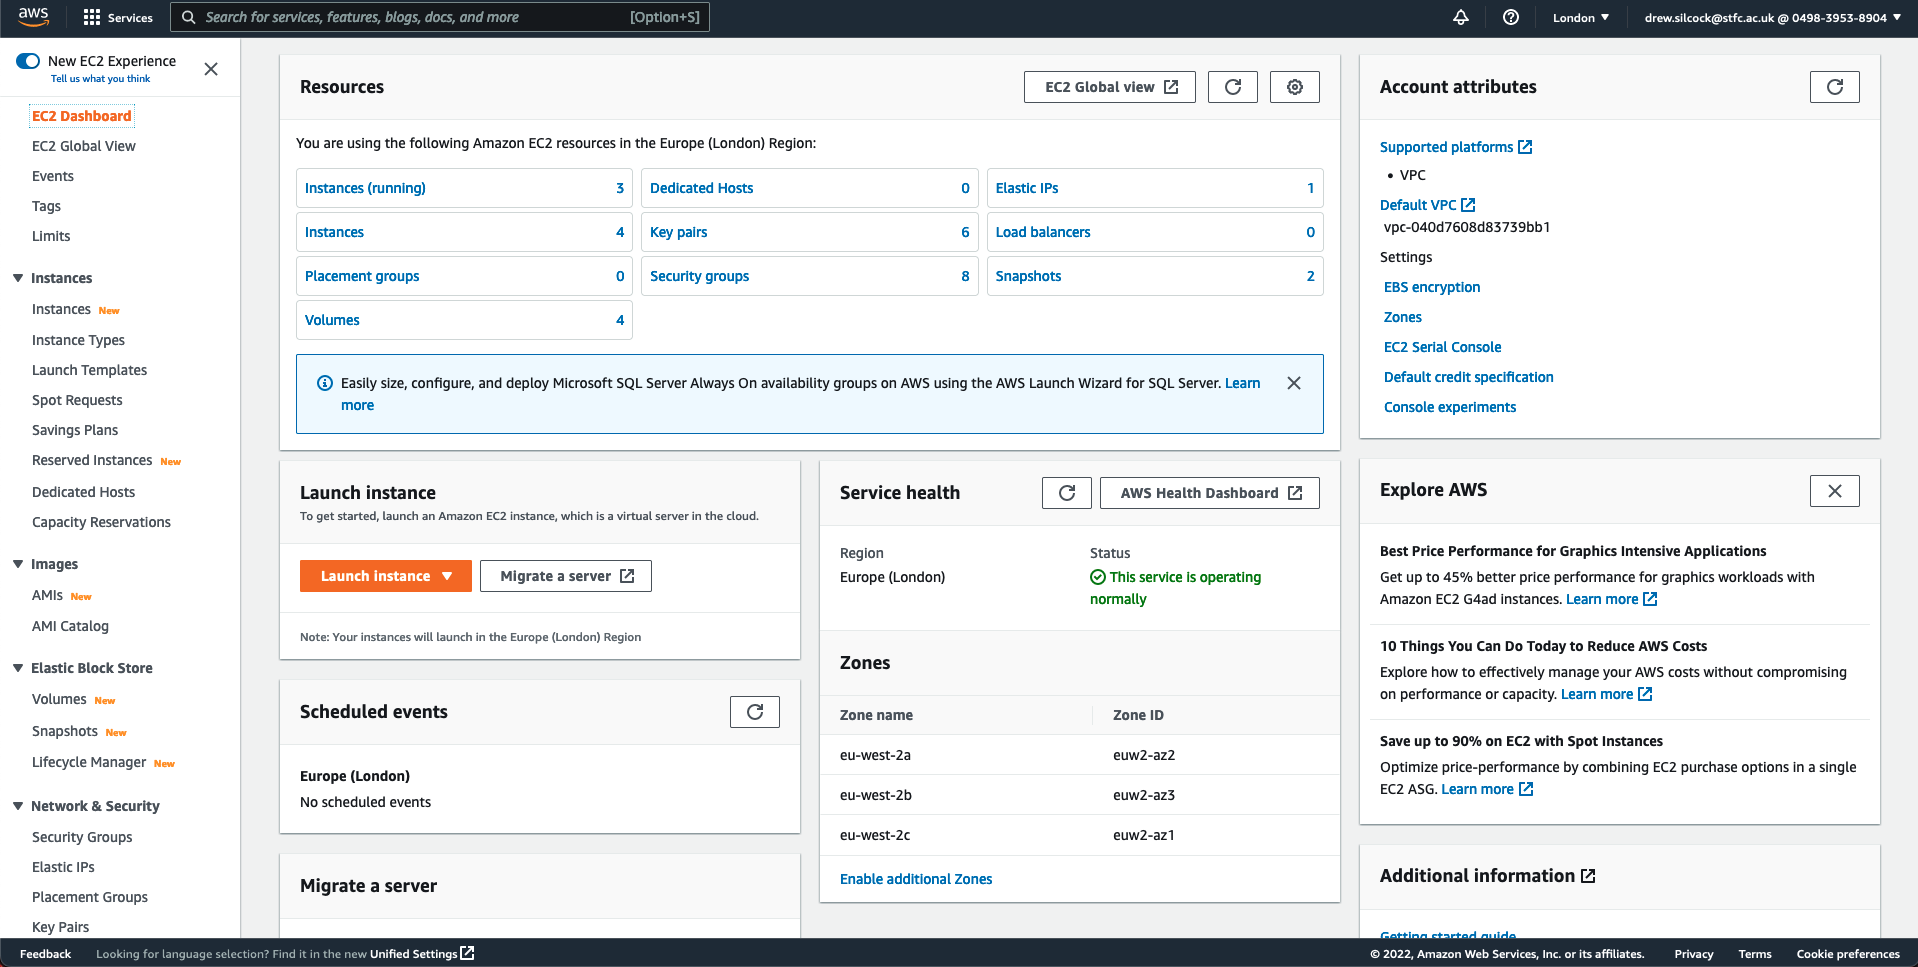
At this point you want to go to “Instances” on the left sidebar under “Instances” and you should be shown a list of VMs. You want to click on the search bar under “Instances” and above the table of VMs and type in the VM name that we sent you in the connection details pack.
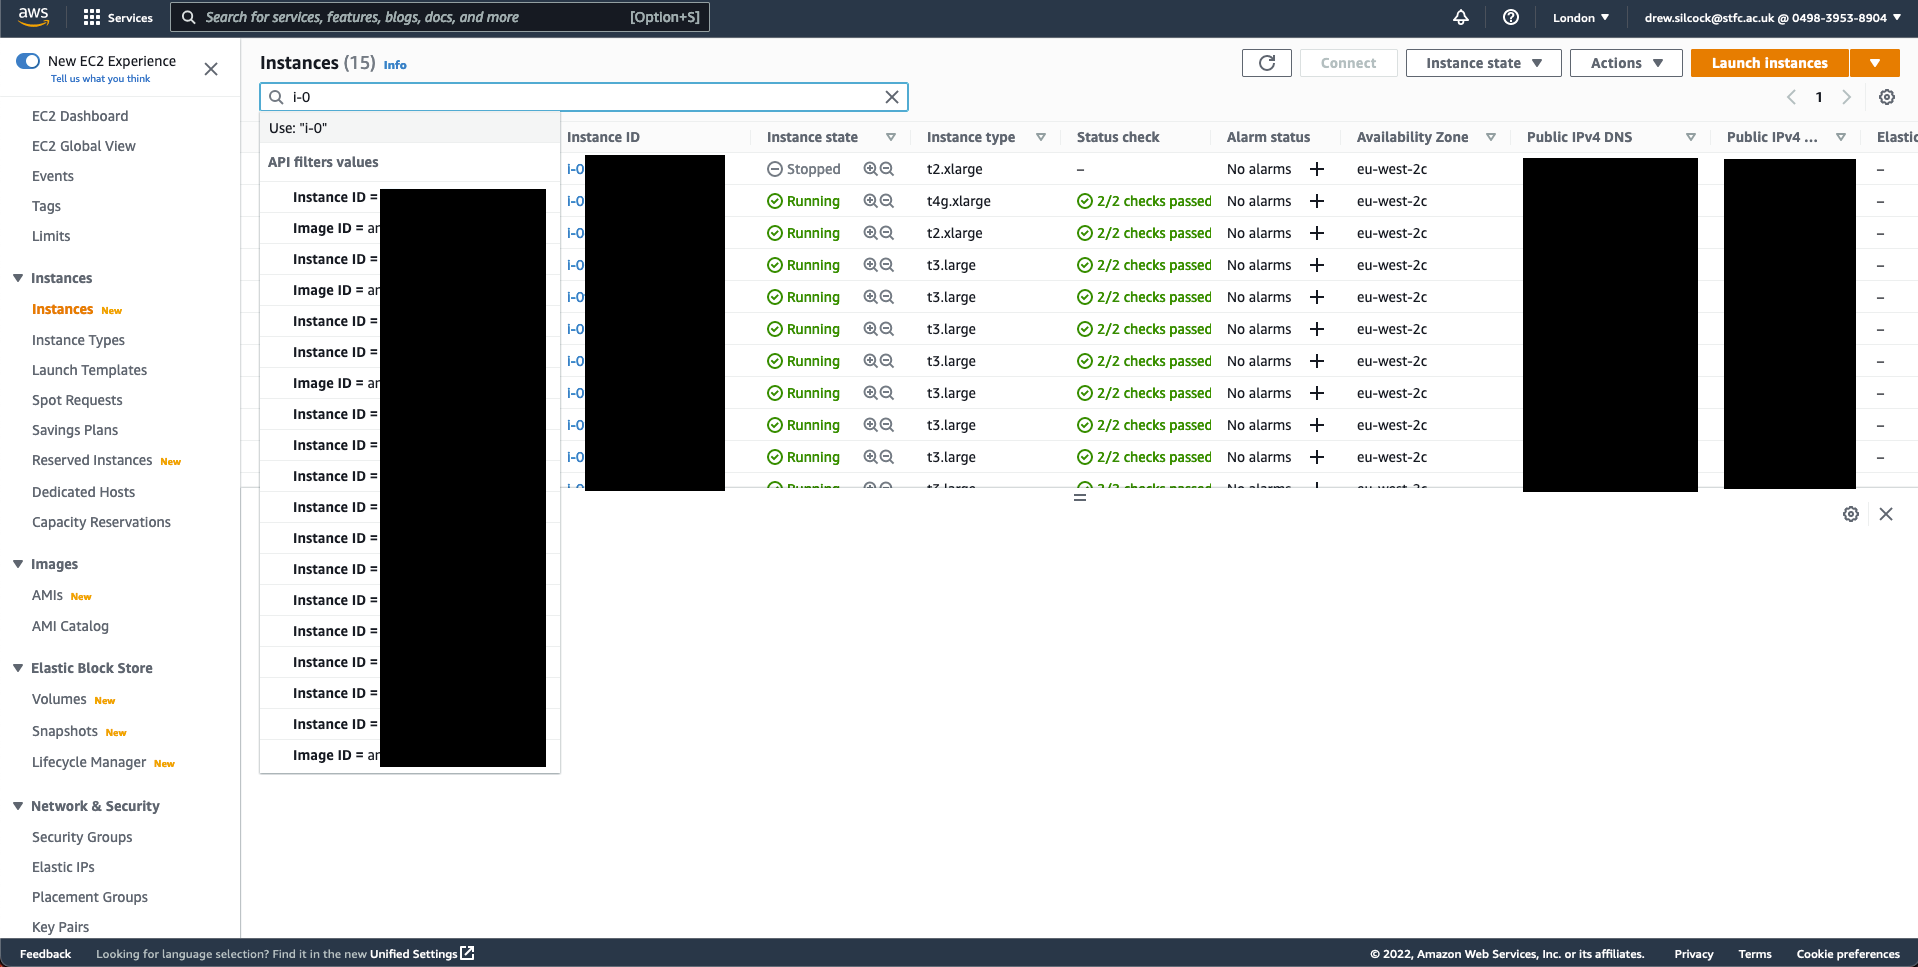
Once you’ve found your VM instance, click on the “Instance ID” link and you should be shown the details of the VM.
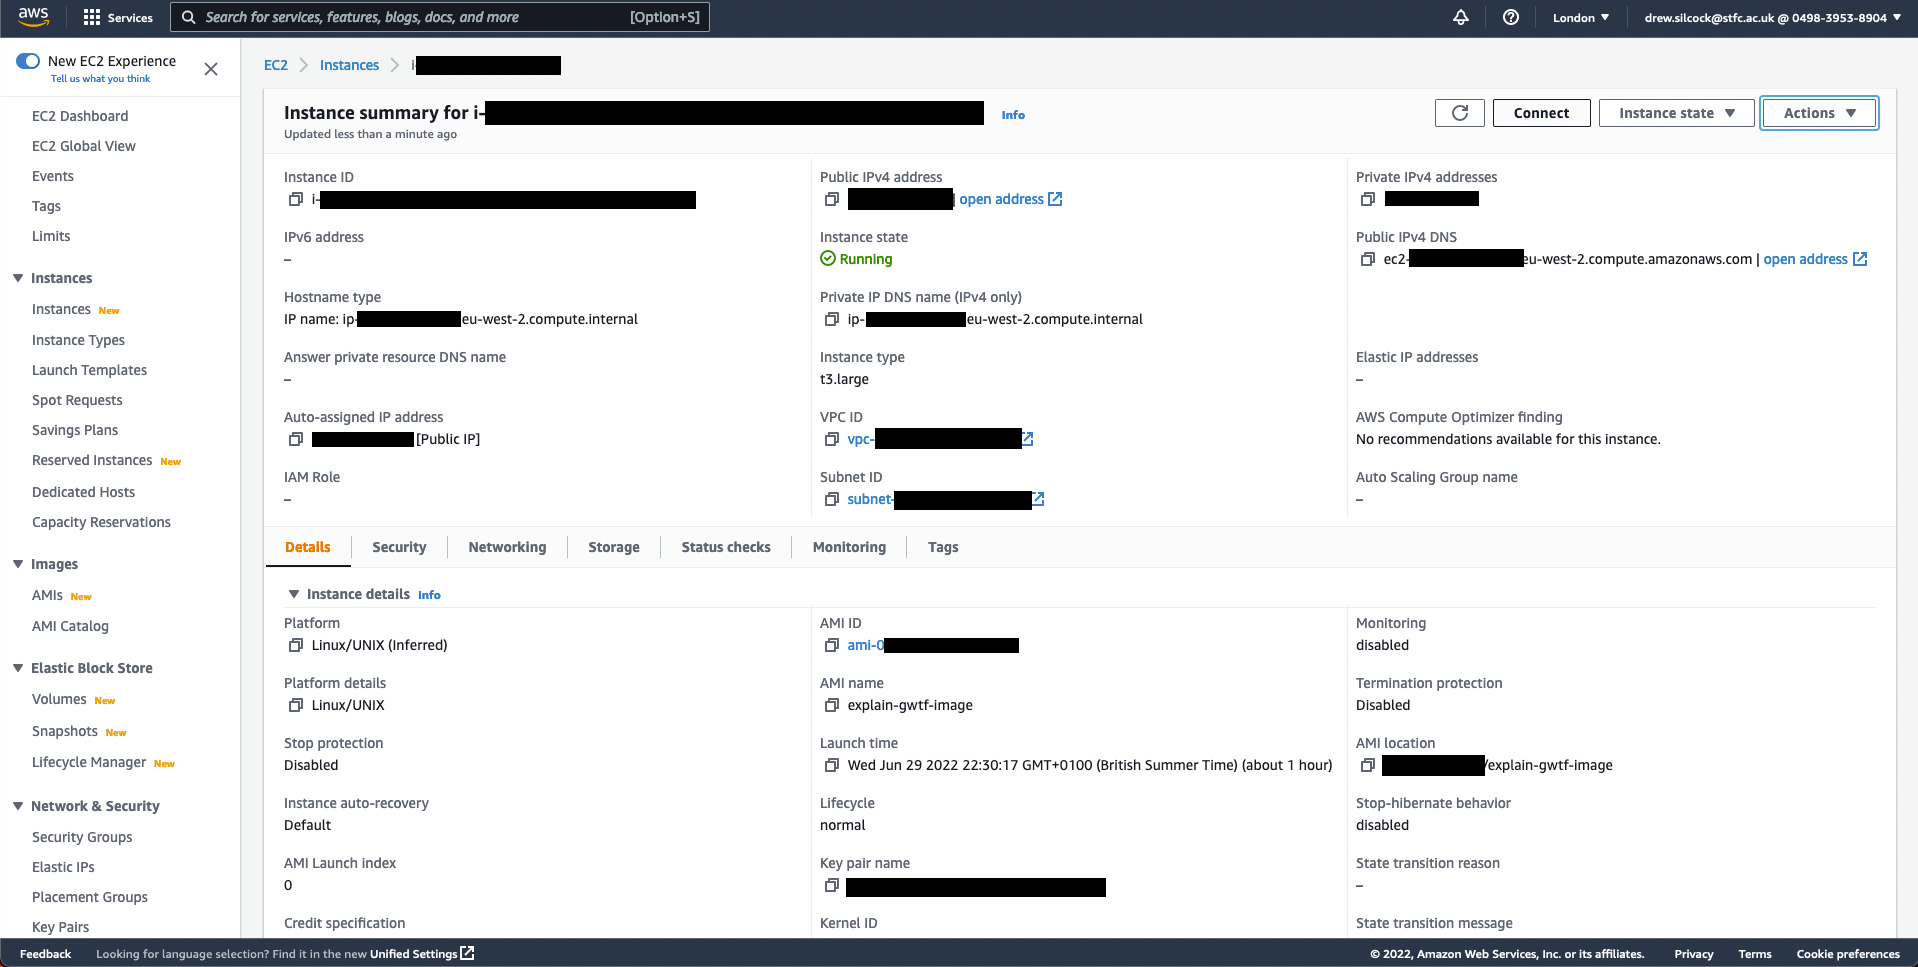
Now all you need to do is click on the “Connect” button, type in “ubuntu” as the user on the “Connect” page that shows up and click on the big orange “Connect” button and you’re off!
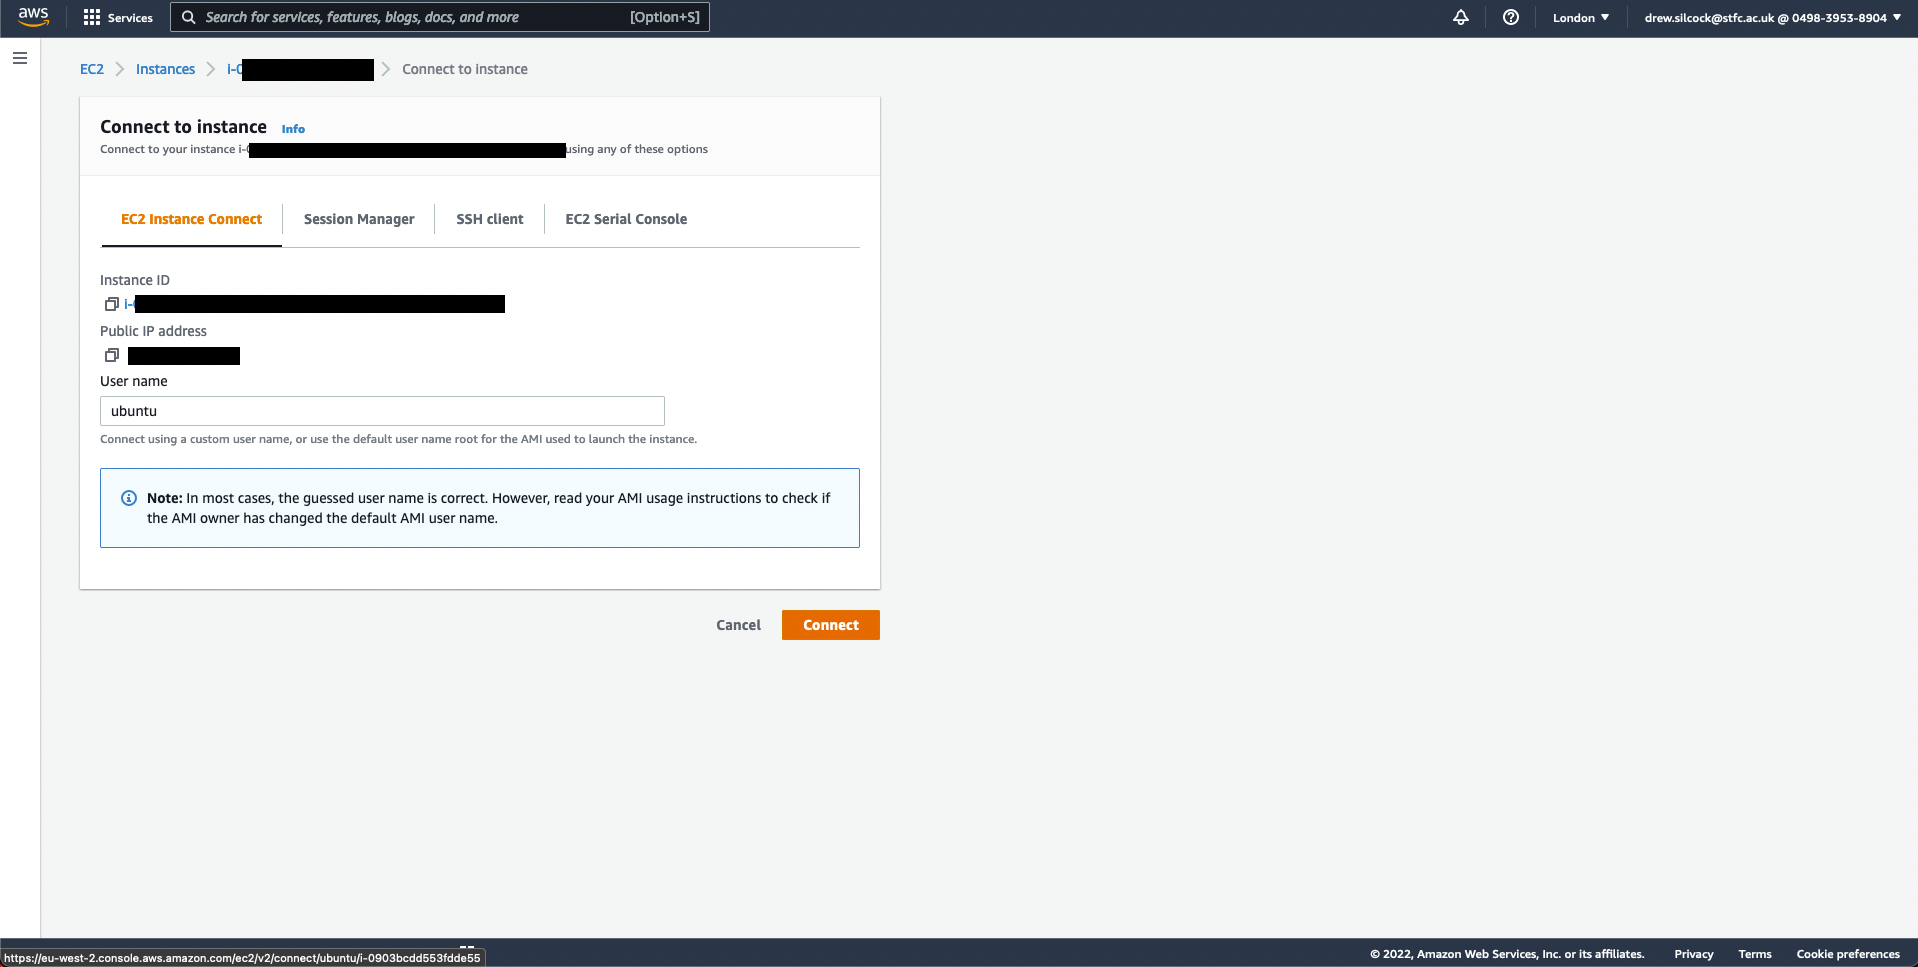
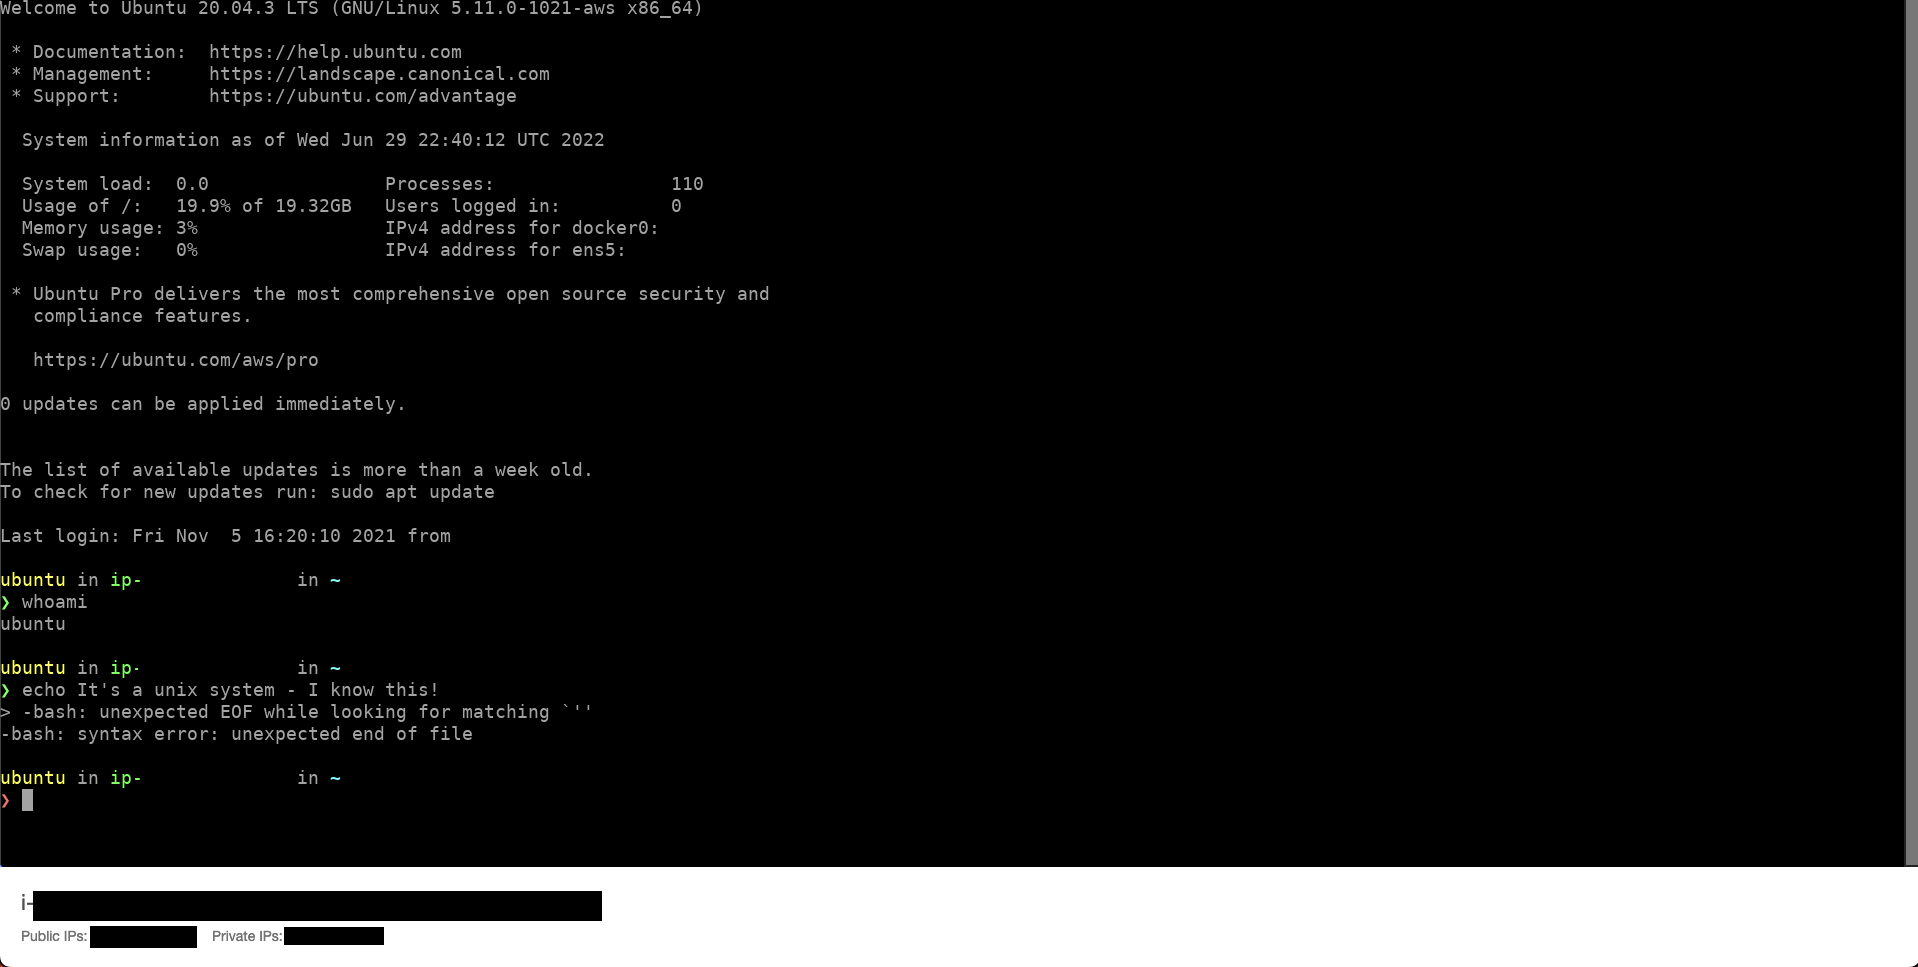
Now you should have a shell open on the VM ready to continue with the workshop.
Setting up AWS CLI
We’re going to be using the AWS CLI to do some cloud resourcing later on in this workshop. Your VM will already have it installed, but you’ll need to configure it with the credentials that we sent over to you.
To do this, you need to run the following command and enter the information below, when asked:
aws configure
- AWS Access Key ID -
<your access key id credential> - AWS Secret Access Key -
<your secret access key credential> - Default region name -
eu-west-2 - Default output format -
json
You can double check whether your setup is working correctly by running:
aws iam get-user | jq
If you’re all set up correctly you should see something like:
{
    "User": {
        "Path": "/",
        "UserName": "first.last@example.com",
        "UserId": "AIDAQXJVLALMABWIDJRJJ",
        "Arn": "arn:aws:iam::049839538904:user/first.last@example.com",
        "CreateDate": "2021-10-19T11:28:28+00:00",
        "PasswordLastUsed": "2021-11-05T09:38:08+00:00"
    }
}
Success
Great! You’re all set up and ready to go. Now let’s get stuck into some git.